Sky Scraper 4"
In mid-2015, MAC Performance Rocketry started business with a line of canvas phenolic rocket kits and components. I was excited by this because phenolic is one of my favorite airframe materials, and canvas phenolic has the promise of being better than the more common paper phenolic.
The Pictures
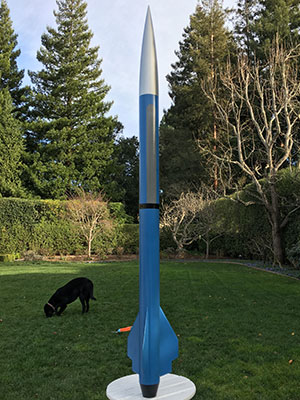
Here's the back yard "just completed" picture. The dog's not very interested.
Aeronaut 2017
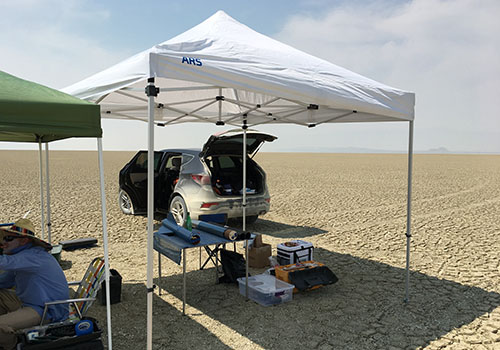
The maiden flight was at Aeronaut in August 2017. Here's my camp on Friday morning August 4 (with the Sky Scraper laid out on the table).
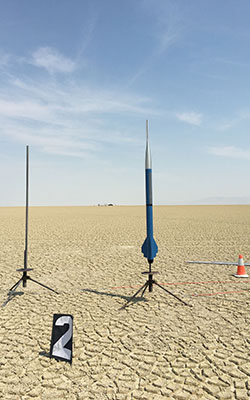
I always like the long-burn motors, so I chose the classic AeroTech I65. Most prep had been done in the shop, and the I65 is single-use, so I was able launch the rocket quickly after setup was completed on Friday morning. Flight was perfect, with the Missile Works RRC3 reporting apogee at 2133' (650m).
 |
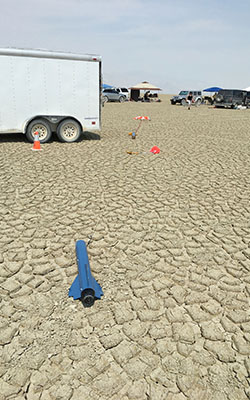 |
There was a bit of wind by late morning, but the rocket landed nearly on the equipment trailer, just as Jim Green was leaving it! I was disapointed that I didn't win a "closest to the Prefect" trophy (although I did get a super duper Jim Green igniter for my AGM-33 Pike flight the next day).
The Kit
I will go into more detail with the kit description since
MAC Performance Rocketry
is a new manufacturer.
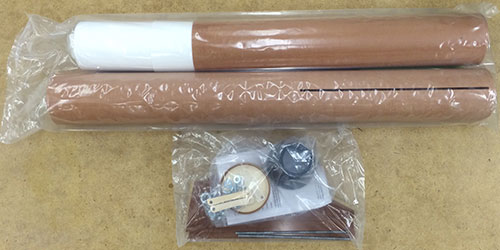
The kit came nicely packaged into two sealed plastic bags and inside a single sturdy mailing box.
The centering rings were a perfect fit on the MMT and inside the body tube and the forward CR was slotted for a pre-sewn Nylon bridle strap.
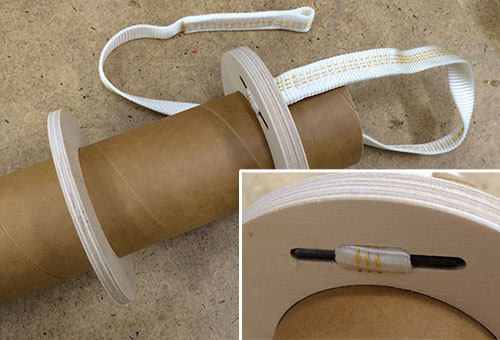
Note how the Nylon strap has loops sewn on either end and around a metal pin that fits into a slot in the forward CR. A very clever design, although I would prefer an aramid strap since this part can't be replaced.
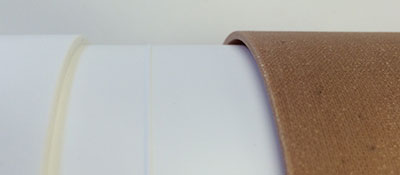
Of course, what I was most excited about was the canvas phenolic tubing.
 |
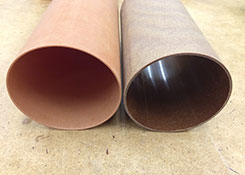 |
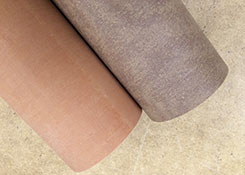
Above you can see the airframe and coupler tubes; the darker tube is the coupler and is slightly thicker. (The body tubes are between 0.058 and 0.067" thick and the coupler between 0.070 and 0.085".) The tubes have a very uniform surface, that appears to have been sanded. See my body tubes article for comparison with other materials.
The fins were machined from canvas phenolic plate and are 0.188" thick.
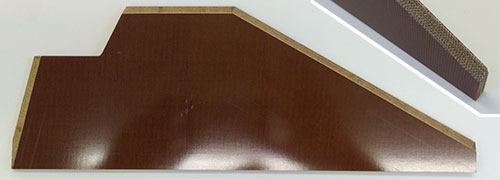
Above you can see a side view of the fin and the beveled leading edge in the inset. The smoothness of the bevel and the edge cuts is very similar to the machined edges on fiberglass kits.
The one thing that wasn't perfect was the fit of the nose into the airframe. It's quite sloppy and seems out of place on this otherwise precise kit.
And last but not least, the kit came with printed instructions!
My Modifications
Of course I can never build things entirely stock, so I made some of my own touches. Firstly, I ordered the kit with an Aero-Pack tail cone to give a nice finish to the aft end. (Since I placed the order along with the kit, they replaced the aft CR with one that worked with the retainer.)
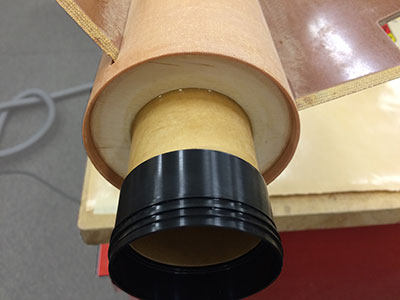
The Aero-Pack tail cone retainer extends the motor mount quite far behind the aft end of the airframe, so it's important to double-check stability when using it.
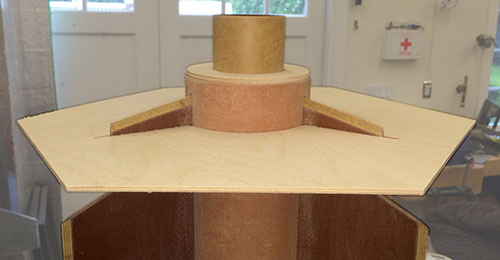
When mounting the fins, I always like to use a guide to make sure they're perfectly aligned. MAC Performance sells these guides, although the picture above is one I made.
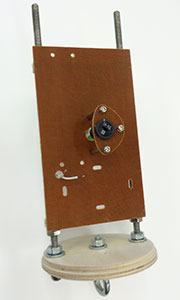
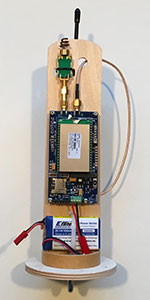
I also wanted to cut my own avionics bay plate out, so I ordered a 1/16" piece of phenolic as well. My plate is the same size as the original kit one (and mounted the same way), but with precision holes and slots for a Missile Works RRC3 and LiPo battery.
 |
 |
Above you can see the bay mounted as per the kit instructions with a front view on the left and a back view on the right. (The switch is on a daughter board so that it's closer to the hole in the switch band.)
 |
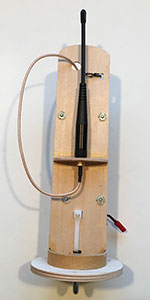 |
Of course, the large nose cone space couldn't go to waste so I mounted a Real Flight GPS tracker. Above you can see the nose cone bay plate with a front view on the left and a back view on the right.